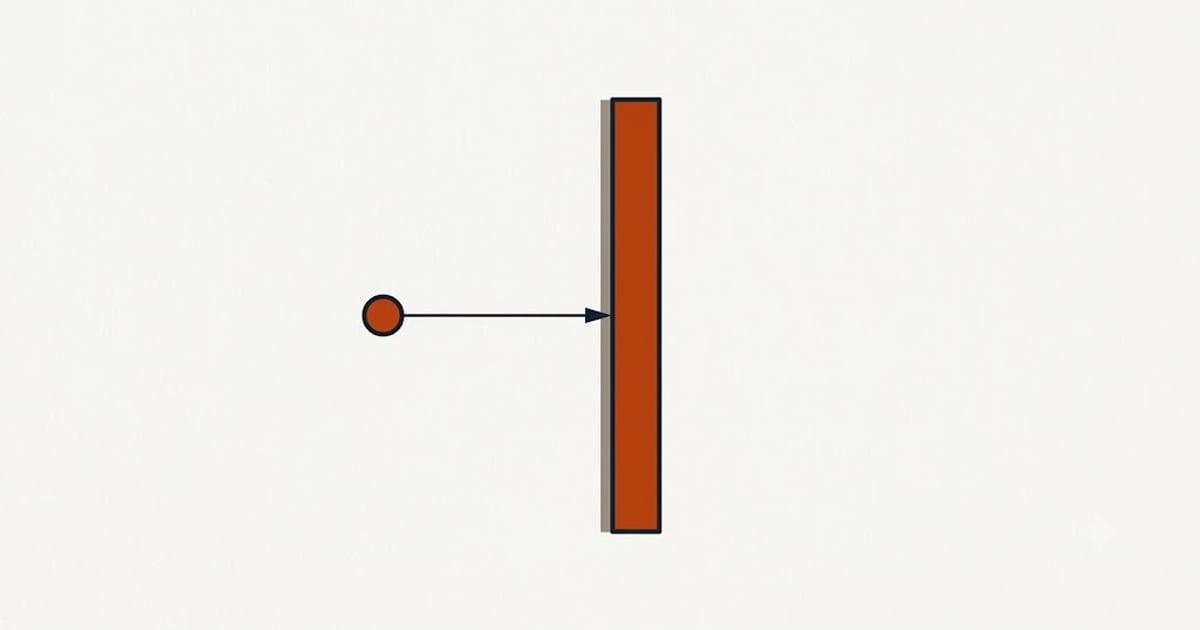
Toilet rough-in is the distance from the finished wall to the centre of the drain flange.
The standard is 12 inches. Older houses commonly have 10 or 14, and toilets are made for all three.
Measuring it
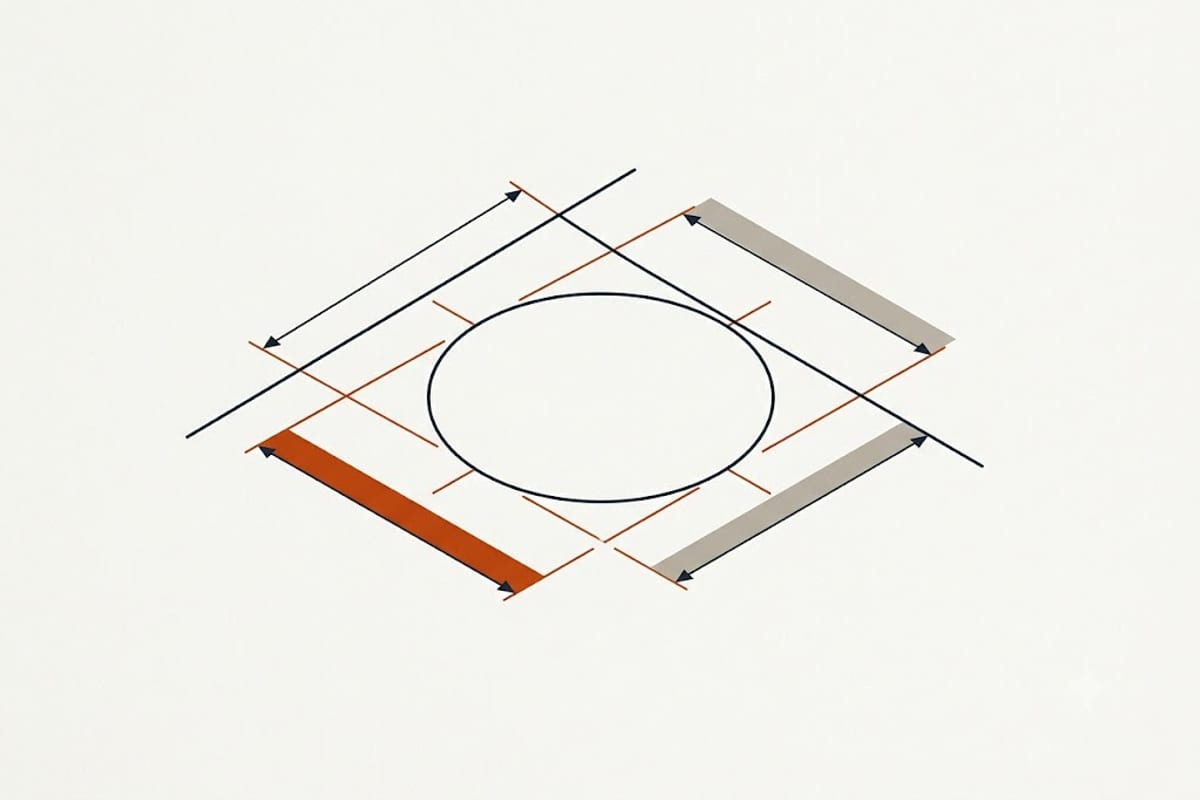
From the finished wall surface — not the baseboard — to the centre of the closet bolts holding the existing toilet down.
If there are two bolts each side, measure to the rear pair.
Measure before ordering. A 12-inch toilet will not fit a 10-inch rough-in, and a 10-inch toilet on a 12-inch rough-in leaves a two-inch gap behind it.
Clearances
In front: commonly a minimum of 21 inches of clear space from the front of the bowl, with 24 preferred and required in some jurisdictions.
Side to side: a minimum of 15 inches from the centreline of the toilet to any wall, vanity or other fixture on each side. That makes 30 inches of total width the working minimum.
Those are the numbers that decide whether a layout is legal as well as usable, and they are the constraint that most often kills a small-bathroom layout idea.
Bowl shapes
Round front projects about 25 to 28 inches from the wall. Better in tight spaces.
Elongated projects about 29 to 31 inches. More comfortable and the usual choice where there is room.
That three-inch difference is frequently what makes a small bathroom work, and it is worth checking against the front clearance before choosing.
Height
Standard height puts the seat around 15 inches from the floor.
Comfort or chair height is around 17 to 19 inches, matching a chair, and it is easier to get up from. It has become the more common choice and it is worth considering for anyone who intends to stay in the house.
One piece, two piece, wall hung
Two piece — tank and bowl separate. Cheapest, easiest to handle, and the join between tank and bowl is a cleaning nuisance.
One piece — moulded together. Easier to clean, heavier, more expensive.
Wall hung — the tank is inside the wall in a carrier frame, the bowl cantilevers off it. Excellent for cleaning under, visually light, and it requires the carrier to be planned and framed at rough-in. It is not a later decision.
The flange
The flange sits on the finished floor and the toilet bolts to it. It must end up level with or slightly above the finished floor.
Adding a tiled floor over an existing floor raises the floor and leaves the flange below it, which is a common problem after a flooring change and the cause of persistent leaks and rocking. Extender rings solve it and stacking several is a poor fix.
Where the floor is being retiled, plan the flange height as part of it.
The rot underneath
A toilet that has rocked for years has usually let water reach the subfloor around the flange. When the toilet comes off during a remodel, look at the subfloor before setting the new one.
Soft wood there is common, it is not visible any other time, and it is the reason the flange will not hold.
Two things worth doing while it is off
Replace the supply line with a braided stainless one, and replace the shut-off valve if it is an older multi-turn one — a quarter-turn valve that actually closes is worth having when something goes wrong.
Both are cheap, both are inaccessible once the toilet is back, and both are common failure points.
Offset flanges, and when they help
An offset flange shifts the drain position by a couple of inches without opening the floor, and it is the standard remedy for a rough-in that is slightly wrong for the toilet you want.
It restricts flow slightly and it is not a substitute for moving the drain properly where the distance is larger. Two inches is what it is for.