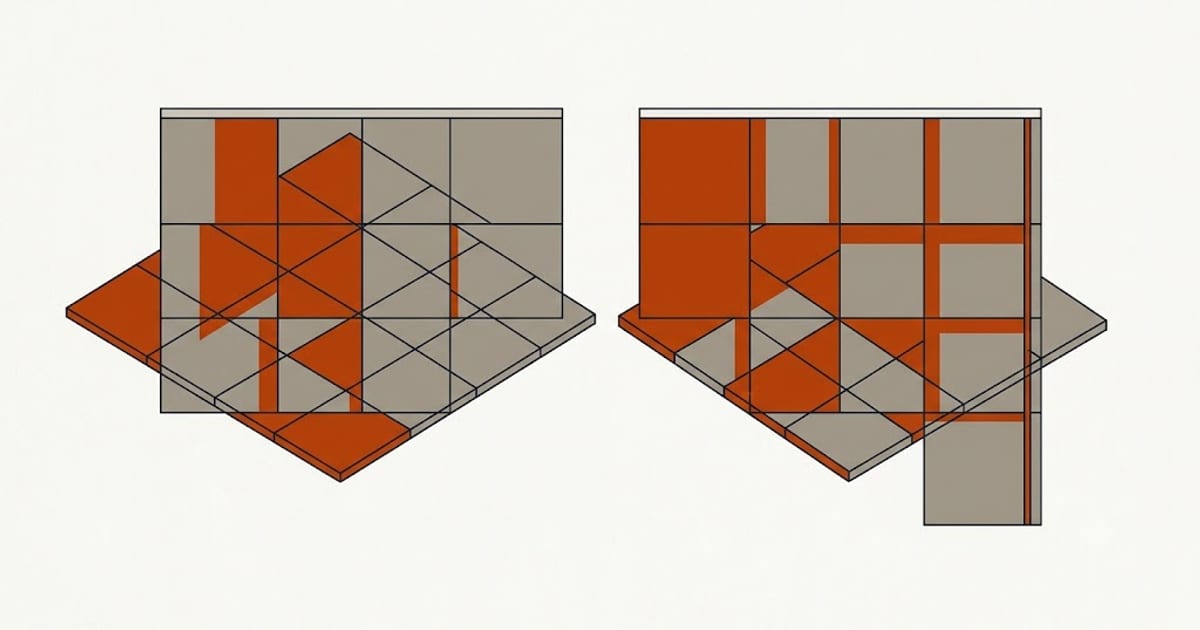
Tile is set in whole units and rooms are not whole numbers of tiles wide. Every layout ends in cut pieces, and the only decision is where they go.
The rule
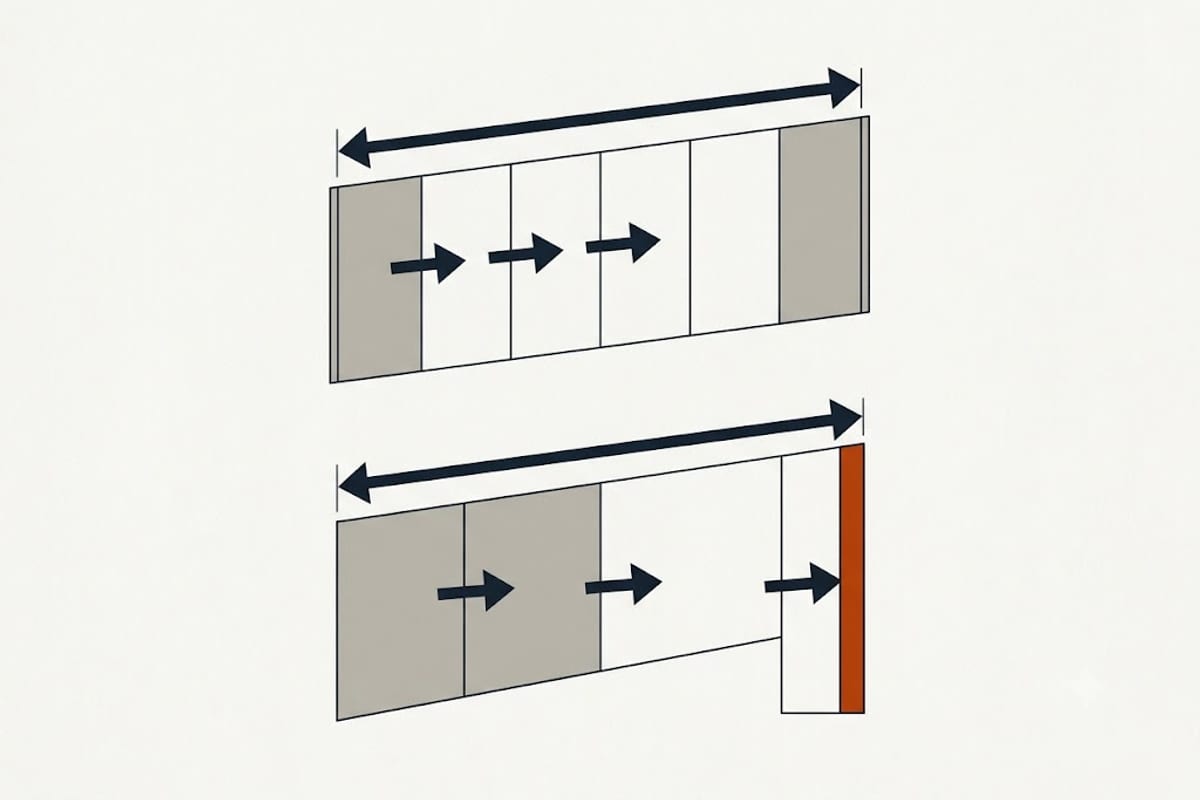
Never end with a sliver. A cut piece narrower than about half a tile reads as a mistake, and one narrower than an inch or two reads as a bad job.
The way to avoid it is to work out the layout on paper first, and to shift the starting line so the cut pieces at both ends are equal and reasonably wide.
Where the layout starts
Not from a corner. Corners are rarely square, and starting there sends the error to the far side of the room where it accumulates into one bad cut.
Start from the most visible line and work outward:
Shower back wall — centre the layout so the two end columns are equal.
The floor — usually centred on the room, or aligned to the doorway so the first thing seen is a full tile.
A feature wall or a niche — the layout should relate to it rather than run into it awkwardly.
Where two visible surfaces disagree, the shower wall usually wins, because it is where people look.
Grout lines should line up
Floor and wall grout lines meeting at the base of a wall look wrong when they nearly align. Either align them deliberately or offset them clearly.
The same applies where a wall meets the shower niche, where two different tiles meet, and at inside corners.
This is worked out on a drawing before any tile is cut.
The niche
A niche is a rectangular hole in the tiled wall, and it is where layout errors become obvious.
Ideally its dimensions are set so the tile inside it works in whole units, and its edges align with the surrounding grout lines. That requires framing the niche to suit the tile, which means deciding the tile before the framing.
A niche framed to a round number and then tiled produces cut pieces on every edge.
Offset patterns on long tile
A 50% running bond on a plank tile longer than about 15 inches puts the high point of one tile against the low point of its neighbour, and the lippage shows.
Manufacturers commonly specify a maximum offset of a third for large-format tile. A third-offset also looks more contemporary than a half-offset, so this is rarely a sacrifice.
Layout out of square
Rooms are not square and walls are not plumb. A layout laid out from one wall will visibly diverge from the opposite wall.
The fix is to split the difference — set the layout so the divergence is shared between both ends rather than concentrated at one.
Snapping chalk lines and dry-laying a row before setting anything is what reveals this, and it takes an hour.
Dry lay it
Lay a row of tiles with spacers on the floor, along the longest run, before any adhesive.
That single exercise shows where the cuts fall, whether a sliver is coming, and whether shifting the line half a tile improves it. It is the highest-value hour in the whole tiling job.
What to agree with the tiler
Where the layout starts on each surface. Where the cuts will fall. The grout joint width. The offset pattern. Whether floor and wall lines align.
A tiler who has these answers before starting has planned the job. One who starts in a corner and works outward is not planning it, and the result will show at whichever end the tile runs out.